
How to do Messaging with Azure Web PubSub
Introduction
Azure Web PubSub is a service that provides real-time messaging using WebSocket communication. It eliminates the need for polling or setting up complex infrastructure to enable seamless, bidirectional communication between clients. This makes it an ideal choice for applications requiring real-time updates, such as chat applications, live dashboards, or multiplayer games.
In this article, we’ll walk through how to set up Azure Web PubSub, connect to it, and publish/subscribe messages using WebSocket. We’ll also explore the differences between Azure Web PubSub and Azure SignalR Service.
What is Azure Web PubSub?
Azure Web PubSub is a fully managed service for real-time messaging using WebSocket. It enables developers to build scalable applications with real-time communication without worrying about infrastructure management.
Key Features of Azure Web PubSub:
- Real-Time Communication: Facilitates low-latency, bidirectional messaging.
- WebSocket Support: Native WebSocket communication with no other protocols or overhead.
- Scalability: Handles thousands of concurrent connections and messages.
- Ease of Use: Simplifies implementation with straightforward APIs and connection management.
- Cost Efficiency: Designed for lightweight real-time applications without unnecessary features.
How to do Messaging with Azure Web PubSub
Step 1: Create an Azure Web PubSub Service
- Log in to the Azure Portal.
- Search for Web PubSub in the search bar and select Azure Web PubSub from the results.
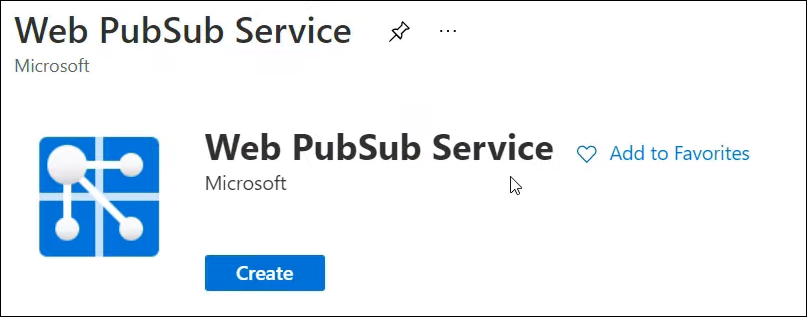
- Click Create, then:
- Select your Resource Group.
- Enter a Name for the service.
- Leave other settings at their default values.
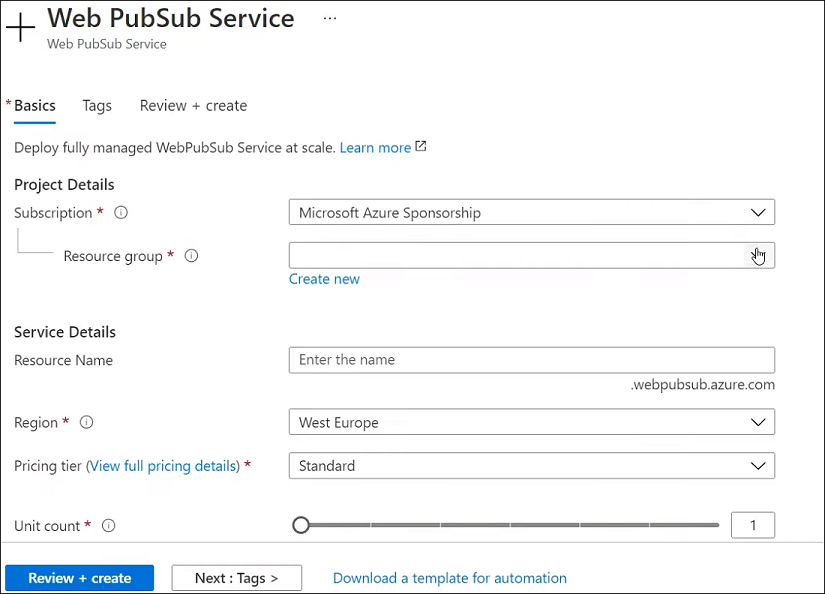
- Click Review + Create and then Create to provision the service.
Step 2: Retrieve the Connection String
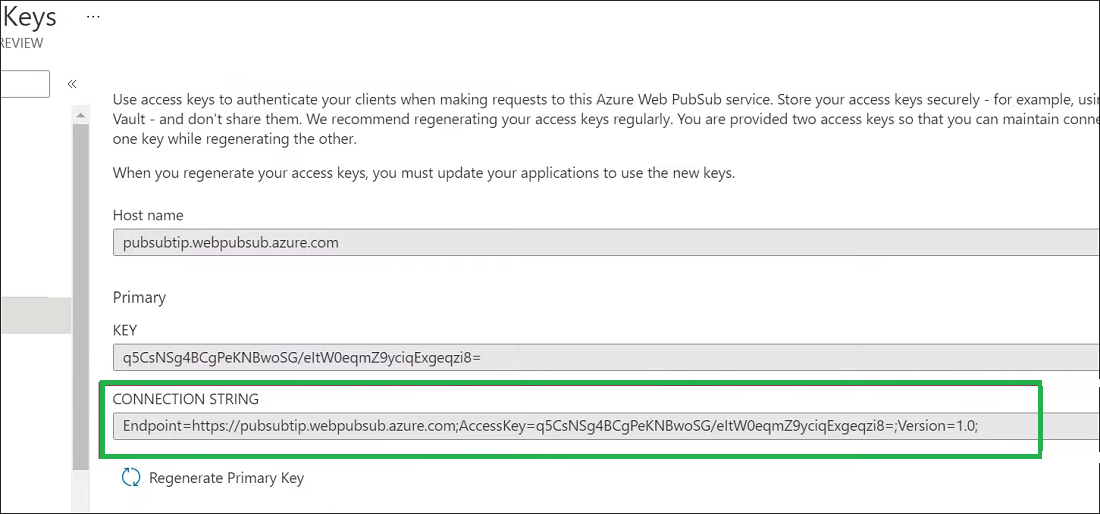
- Once the service is created, navigate to its Settings.
- Copy the Connection String. This will be used by both the publisher and subscriber applications to connect to the service.
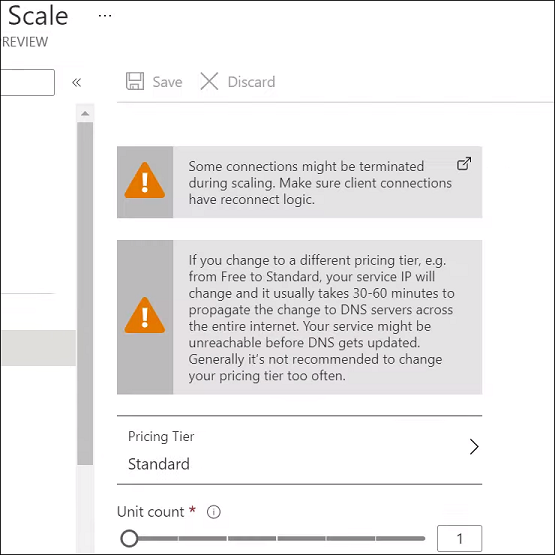
Step 3: Scale the Service (Optional)
If you need to support more concurrent client connections, scale the service by adjusting the scale units in the settings. Each scale unit supports up to 1,000 concurrent client connections.
Step 4: Use the Sample Application
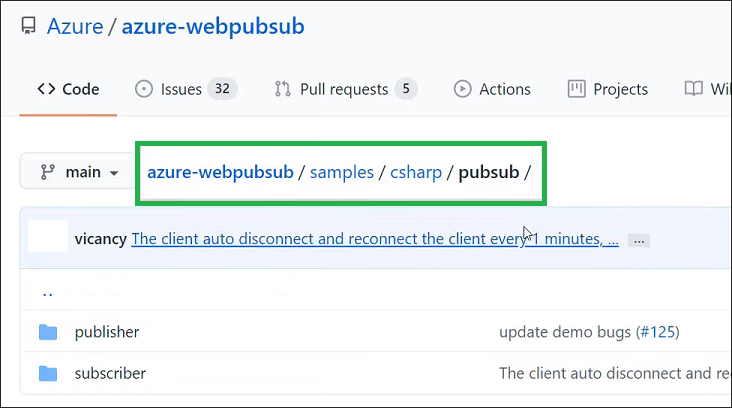
- Download the sample application from this GitHub repository.
- The repository contains two console applications:
- A subscriber app that listens for messages.
- A publisher app that sends messages to the hub.
Step 5: Connect to Azure Web PubSub
- Open a terminal and navigate to the subscriber application directory.
- Run the following command to start the subscriber:
Replace:
<CONNECTION_STRING>with the connection string copied earlier.<HUB_NAME>with any name you want to assign to the hub (e.g.,chatHub).
- The subscriber will now connect to Azure Web PubSub and start listening for messages.
Step 6: Send a Message with the Publisher
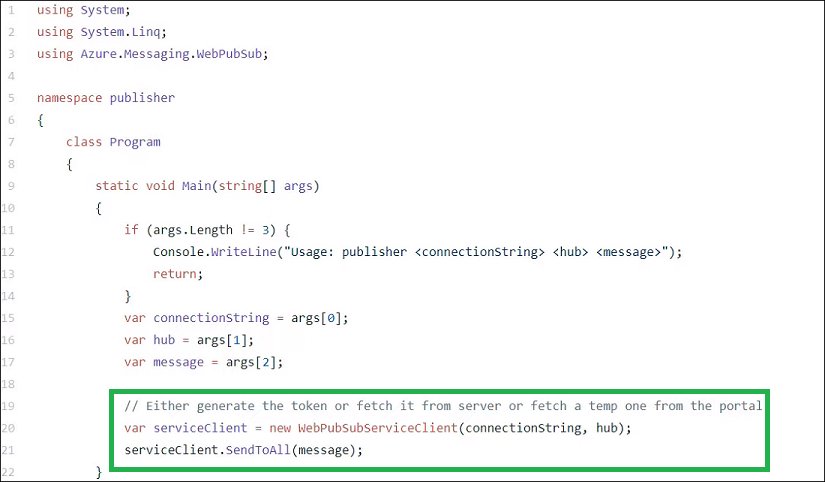
- Open another terminal and navigate to the publisher application directory.
- Run the following command to start the publisher:
Replace:
<CONNECTION_STRING>with the same connection string.<HUB_NAME>with the same hub name as the subscriber.<MESSAGE>with the message you want to send (e.g.,Hello, World!).
- The subscriber app will immediately receive the message sent by the publisher.
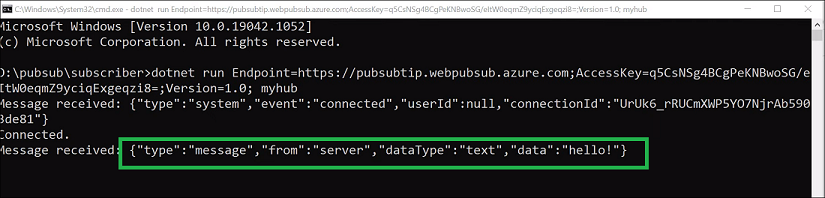
Step 7: Verify Real-Time Communication
- Observe the terminal output of the subscriber app to confirm it received the message.
- Repeat the process with different messages to test real-time communication.
Azure Web PubSub vs. Azure SignalR Service
Though both services provide real-time messaging capabilities, they cater to different use cases:
| Feature | Azure Web PubSub | Azure SignalR Service |
|---|---|---|
| Protocol | WebSocket only | SignalR protocol (supports RPC, streaming, etc.) |
| Reconnection Support | No automatic reconnection | Automatic reconnection |
| Fallback Protocols | None | Supports fallback to other protocols if WebSocket fails |
| Use Case | Lightweight real-time messaging with minimal overhead | Advanced scenarios requiring RPC and streaming |
| Complexity | Simple and straightforward | Rich features, slightly more complex |
When to Choose Azure Web PubSub:
- Use when you need lightweight, plain WebSocket communication without advanced features.
- Ideal for chat apps, real-time notifications, or basic real-time dashboards.
When to Choose Azure SignalR Service:
- Use when you need advanced features like automatic reconnection, RPC, or streaming.
- Ideal for collaborative apps, real-time gaming, or live media streaming.
Advantages of Azure Web PubSub
- Ease of Setup:
Quickly set up and deploy real-time messaging with minimal configuration. - Low Overhead:
Simple WebSocket-based communication with no additional protocols or features. - Scalability:
Supports thousands of concurrent connections, making it ideal for real-time applications. - Cost-Effective:
Only pay for the capacity and features you use, with no extra overhead.
Disadvantages of Azure Web PubSub
- Limited Features:
Lacks advanced features like fallback protocols, RPC, or automatic reconnection. - Manual Scaling:
May require manual intervention to adjust scale units for higher traffic. - No Automatic Client Recovery:
Clients must handle reconnection manually if a WebSocket connection fails.
Best Practices for Using Azure Web PubSub
- Use Unique Hub Names:
Assign unique hub names for different application modules or features to avoid conflicts. - Monitor Connection Limits:
Regularly monitor the number of active connections and scale the service as needed. - Implement Client Reconnection:
Add logic in your client applications to handle reconnections in case of WebSocket failure. - Optimize Message Payloads:
Keep message sizes small to minimize latency and improve performance. - Secure Connections:
Use HTTPS endpoints and manage access keys securely to protect the connection string.
Troubleshooting Common Issues
1. Connection Errors
- Ensure the connection string is correct and the hub name matches.
- Check network firewalls or proxies that might block WebSocket traffic.
2. Subscriber Not Receiving Messages
- Verify that the publisher is sending messages to the correct hub.
- Check for typos in the hub name used in both publisher and subscriber.
3. High Latency
- Optimize message sizes and frequency.
- Scale the service to handle higher loads.
4. WebSocket Connection Fails
- Ensure WebSocket support is enabled in the client environment.
- Add client-side logic to handle reconnections.
Conclusion
Azure Web PubSub simplifies real-time messaging with WebSocket, making it easy to build scalable and efficient applications. Whether you’re creating a chat app, real-time dashboard, or live notifications system, Azure Web PubSub provides the essential tools for seamless communication between clients.
For more complex scenarios requiring advanced features, consider Azure SignalR Service. By understanding the capabilities and limitations of both services, you can choose the best solution for your application needs.
Start building with Azure Web PubSub today! Visit the official documentation for more details.