
Setup Storage Account for Data Archive
🌟 Introduction
Azure Storage provides a cost-effective and secure solution for storing infrequently accessed data. By configuring a storage account with appropriate settings, you can optimize data archiving for backups, compliance, and long-term retention. This guide walks you through setting up an Azure Storage Account tailored for data archiving.
💡 Why Use Azure Storage for Data Archive?
Azure Blob Storage offers Cool and Archive access tiers, designed for data that doesn’t require frequent access. These tiers significantly reduce storage costs while maintaining data durability and security. Data archiving with Azure ensures reliable retention for backups, legal compliance, and disaster recovery.
🛠️ How to Setup Storage Account for Data Archive – Step by Step Guide
📌 Step 1: Login to Azure Portal
- Visit the Azure Portal.
- Log in with your Azure credentials.
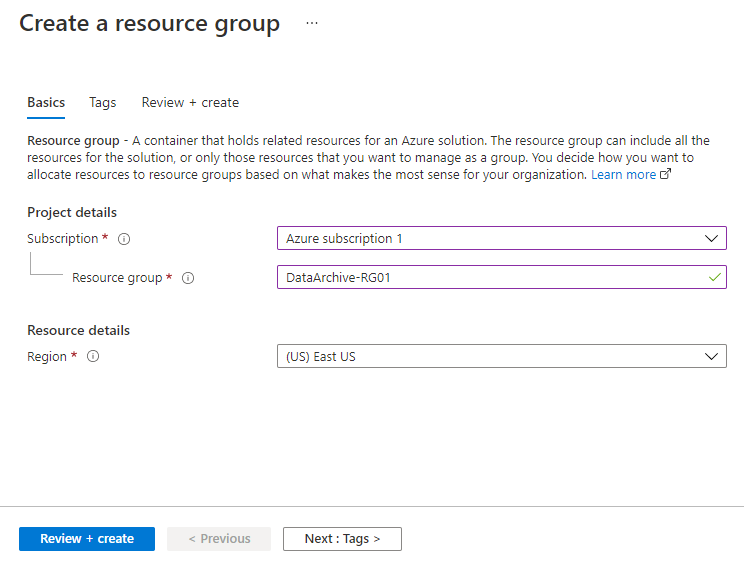
📌 Step 2: Create a Resource Group
- Navigate to Resource Groups from the Azure Portal menu.
- Click + Create to create a new resource group.
- Fill in the following details:
- Resource Group Name: Enter a unique name (e.g., `ArchiveResourceGroup`).
- Region: Choose the closest Azure region for optimal performance.
- Click Review + Create, then Create.
*Note:* You can skip this step if you already have an existing resource group.
📌 Step 3: Create a Storage Account
- In the Azure Portal, navigate to Storage Accounts and click + Create.
- In the Basics tab, fill out the following details:
- Subscription: Select your active Azure subscription.
- Resource Group: Choose the resource group created earlier.
- Storage Account Name: Enter a unique name (e.g.,
myarchivestorage). - Region: Select the same region as your resource group for optimal performance.
- Performance: Choose Standard (suitable for archival storage).
- Redundancy: Select Locally Redundant Storage (LRS) or Geo-Redundant Storage (GRS) based on your redundancy needs.
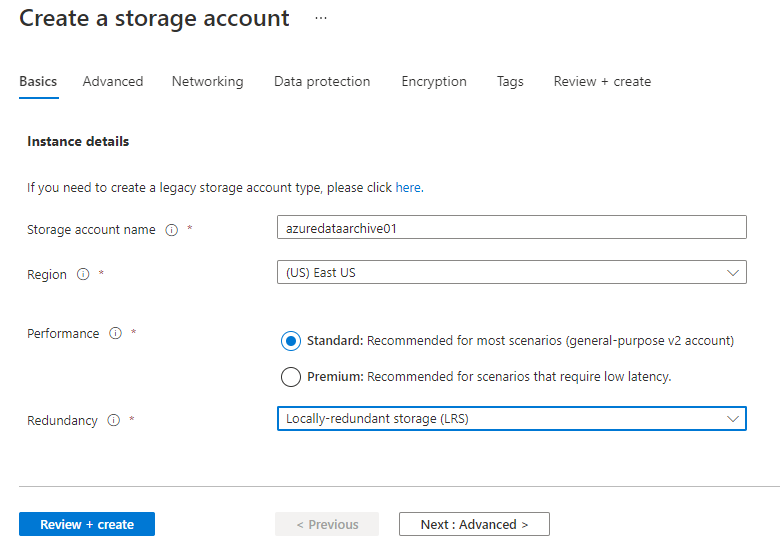
Click Next: Advanced to proceed.
📌 Step 4: Configure Advanced Settings
- In the Advanced tab:
- Leave Data Lake Storage Gen2 and SFTP settings as default unless required for specific use cases.
- Change Access Tier: Set the default access tier to Cool. The Cool tier is designed for infrequently accessed data and provides cost savings compared to the Hot tier.
- Leave Azure Files settings as default.
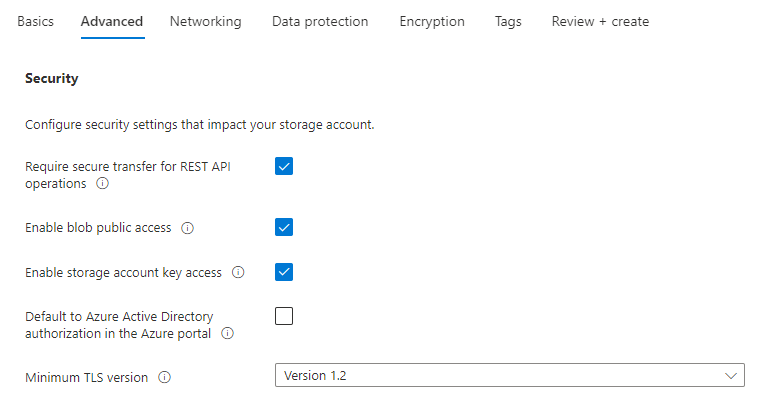
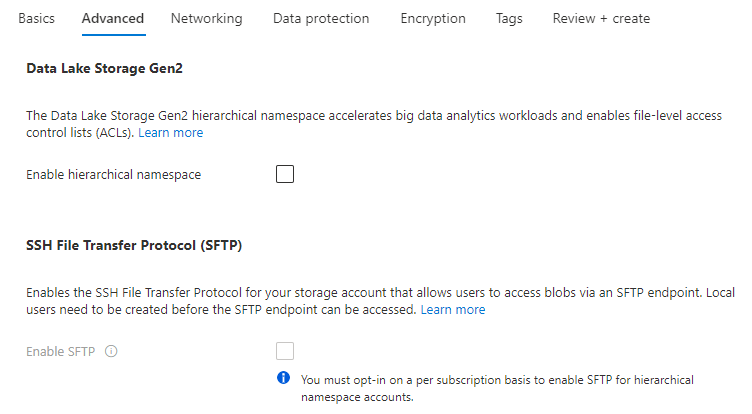
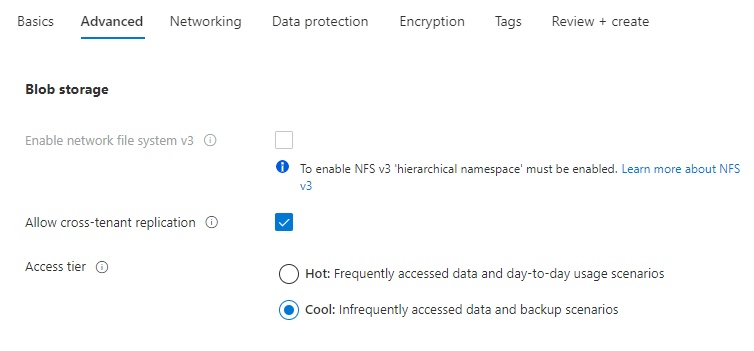
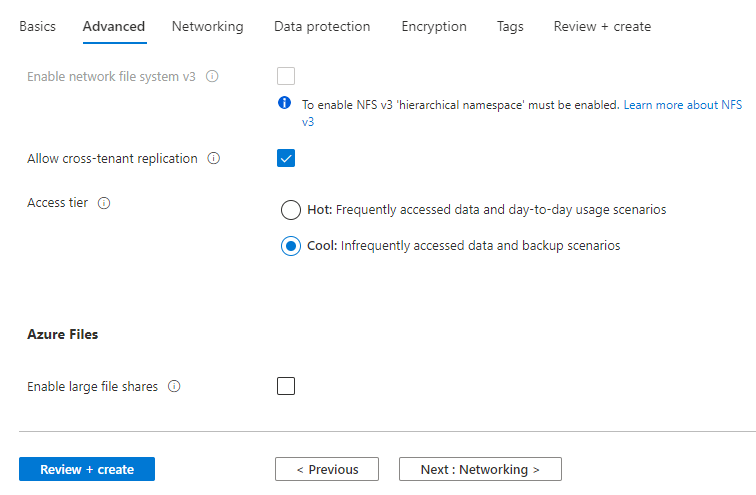
Click Next: Networking to continue.
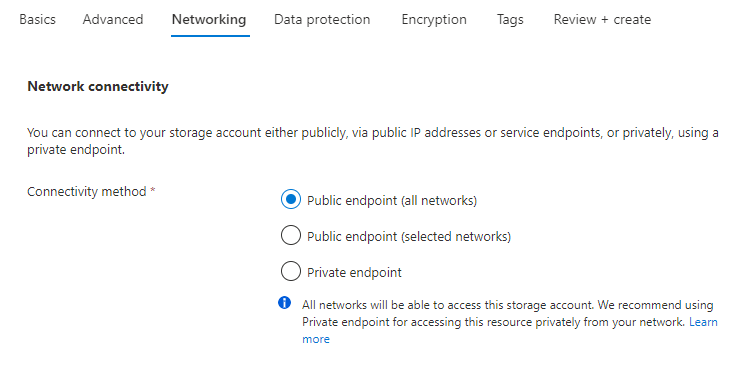
📌 Step 5: Configure Networking
In the Networking tab:
- Network Connectivity Method: Choose how you want to connect to your storage account:
- Public Access: Allows access via public IP addresses or service endpoints.
- Private Endpoint: Provides secure access via a private endpoint in your virtual network.
- Network Routing Preference: Select Microsoft Network Routing for optimal
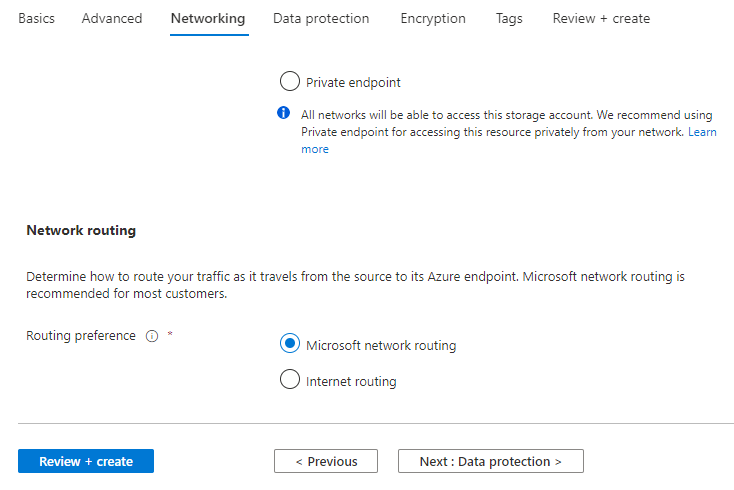
Click Next: Data Protection to proceed.
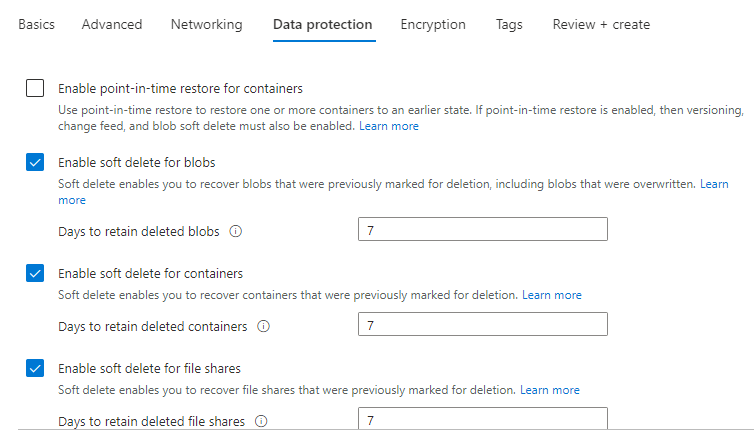
📌 Step 6: Data Protection
In the Data Protection tab:
- Configure settings to protect your data from accidental deletion or modification:
- Enable Soft Delete for Blobs to recover deleted blobs within a specified retention period.
- Enable Blob Versioning to maintain a history of changes made to your blobs.
- Optionally, enable Blob Change Feed to track all changes to blob data.
- Leave the rest of the settings as default unless additional requirements are specified.
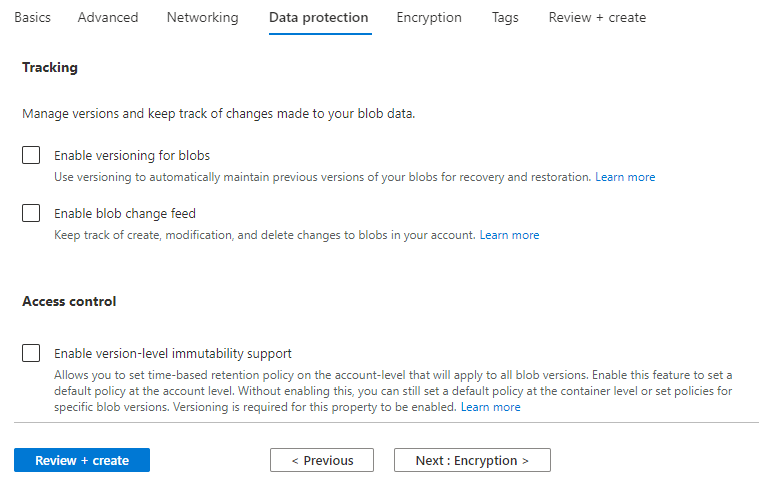
Click Next: Encryption to proceed.
📌 Step 7: Encryption
In the Encryption tab:
- Leave the encryption settings as default. Azure uses Microsoft-managed keys to encrypt your data at rest.
- If needed, you can configure Customer-Managed Keys for additional control over encryption.

Click Next: Tags to continue.
📌 Step 8: Add Tags
- Add tags to organize your resources:
- Tag Name: e.g.,
Environment - Tag Value: e.g.,
Archive
- Tag Name: e.g.,
- Tags help in resource management and cost tracking.
Click Review + Create to validate your configuration.
📌 Step 9: Create the Storage Account
- Review the summary of your configuration.
- Click Create to deploy your storage account.
Once deployment is complete, your storage account is ready for data archiving.
🌟 Best Practices for Data Archiving
- Choose the Right Access Tier:
- Use the Cool tier for data accessed infrequently but more than once a year.
- Use the Archive tier for data that is rarely accessed and can tolerate retrieval delays.
- Implement Data Protection:
- Enable blob versioning and soft delete to recover from accidental deletions or modifications.
- Plan for Rehydration:
- For archived data, plan retrievals in advance to account for rehydration times.
- Monitor Storage Costs:
- Use Azure Cost Management to regularly track and optimize storage costs.
- Secure Your Data:
- Use private endpoints and Azure RBAC to control access to your storage account.
- Automate Data Lifecycle:
- Set up lifecycle management policies to automatically move data between access tiers based on its usage patterns.
Key Features of Azure Storage Account for Data Archiving
- Access Tiers for Cost Optimization:
- Azure offers Cool and Archive access tiers to optimize storage costs for infrequently accessed data.
- The Cool tier is suitable for data accessed less frequently (e.g., once a month).
- The Archive tier is designed for rarely accessed data, with significant cost savings but slower retrieval times.
- Durability and Redundancy:
- Data stored in Azure Storage is highly durable with multiple redundancy options like Locally Redundant Storage (LRS), Geo-Redundant Storage (GRS), and Zone-Redundant Storage (ZRS).
- Data Protection Features:
- Protect data from accidental deletion or modification using soft delete for blobs, blob versioning, and change feed tracking.
- Integration with Azure Services:
- Seamlessly integrates with Azure Backup, Azure Site Recovery, and Azure Monitor for end-to-end data management and monitoring.
- Secure Networking Options:
- Supports private endpoints for secure access and public endpoints with firewalls for flexibility in connectivity.
- Encryption and Security:
- Data is encrypted at rest with Microsoft-managed keys or customer-managed keys for additional control over encryption.
- Scalable Storage:
- Azure Storage scales dynamically to handle petabytes of data, supporting growing business needs.
Advantages of Using Azure Storage for Data Archiving
- Cost-Effective Storage:
- Archive and Cool tiers offer significantly lower costs compared to traditional on-premises storage or frequently accessed cloud storage.
- Secure and Compliant:
- Built-in encryption and compliance with regulatory standards like GDPR and HIPAA ensure data protection and legal adherence.
- Highly Durable:
- Data is stored with redundancy across multiple zones or regions, ensuring minimal data loss even in the case of a disaster.
- Scalability:
- Supports storage needs from small businesses to large enterprises, accommodating rapid data growth without manual intervention.
- Simplified Data Management:
- Built-in tools like blob versioning and change feed make it easy to track and recover data changes.
- Global Accessibility:
- With Azure’s global infrastructure, archived data is accessible from any location, ensuring operational flexibility.
- Automated Data Lifecycle:
- Azure Storage allows lifecycle policies to automate transitions between tiers, saving costs and effort.
Disadvantages of Using Azure Storage for Data Archiving
- Delayed Data Access:
- Data stored in the Archive tier requires rehydration, which can take several hours, making it unsuitable for time-sensitive scenarios.
- Complexity in Configuration:
- Setting up lifecycle policies, networking configurations, and encryption options may require expertise.
- Potential Overheads for Small Workloads:
- For small-scale data archiving, the cost of advanced features may not justify the investment.
- Dependency on Internet Connectivity:
- Accessing archived data requires reliable internet connectivity, which could be a limitation for remote locations with poor connectivity.
- Learning Curve:
- Advanced features like private endpoints, versioning, and blob change feed might have a steep learning curve for new users.
Use Cases for Azure Storage Data Archiving
- Regulatory Compliance:
- Store financial records, healthcare data, or other compliance-sensitive data for long-term retention.
- Backup and Disaster Recovery:
- Use the Archive tier to store backups and disaster recovery data at a low cost.
- Cold Data Storage:
- Archive large volumes of logs, telemetry data, or historical records that are rarely accessed.
- Media Archiving:
- Store media files, such as videos and images, that need long-term preservation but are infrequently accessed.
- Scientific Data Retention:
- Archive research data or experimental results for future reference without incurring high storage costs.
🎯 Conclusion